


How to use Custom Emails


Custom emails include chat transcripts, password reset requests and survey completed emails. Click4Assistance provides a range of templates that lets you build these emails and integrate them with other services.
Sending custom emails helps to keep customers engaged and informed. Click4Assistance offers this feature, allowing you to quickly create and send important email communications to your prospects’ and customers' inboxes automatically.
For example, a customer might request that a rep send them a transcript of their conversation to their inbox. Email templates let you improve the appearance of system-generated emails, aligning them with your branding.
How to Make Custom Emails in Click4Assistance
In this section, we explore how to make custom emails within the Click4Assistance solution.
With Click4Assistance, email templates are fully customisable with HTML, giving you the freedom to design them to your brand guidelines and specifications.
To create an email template:
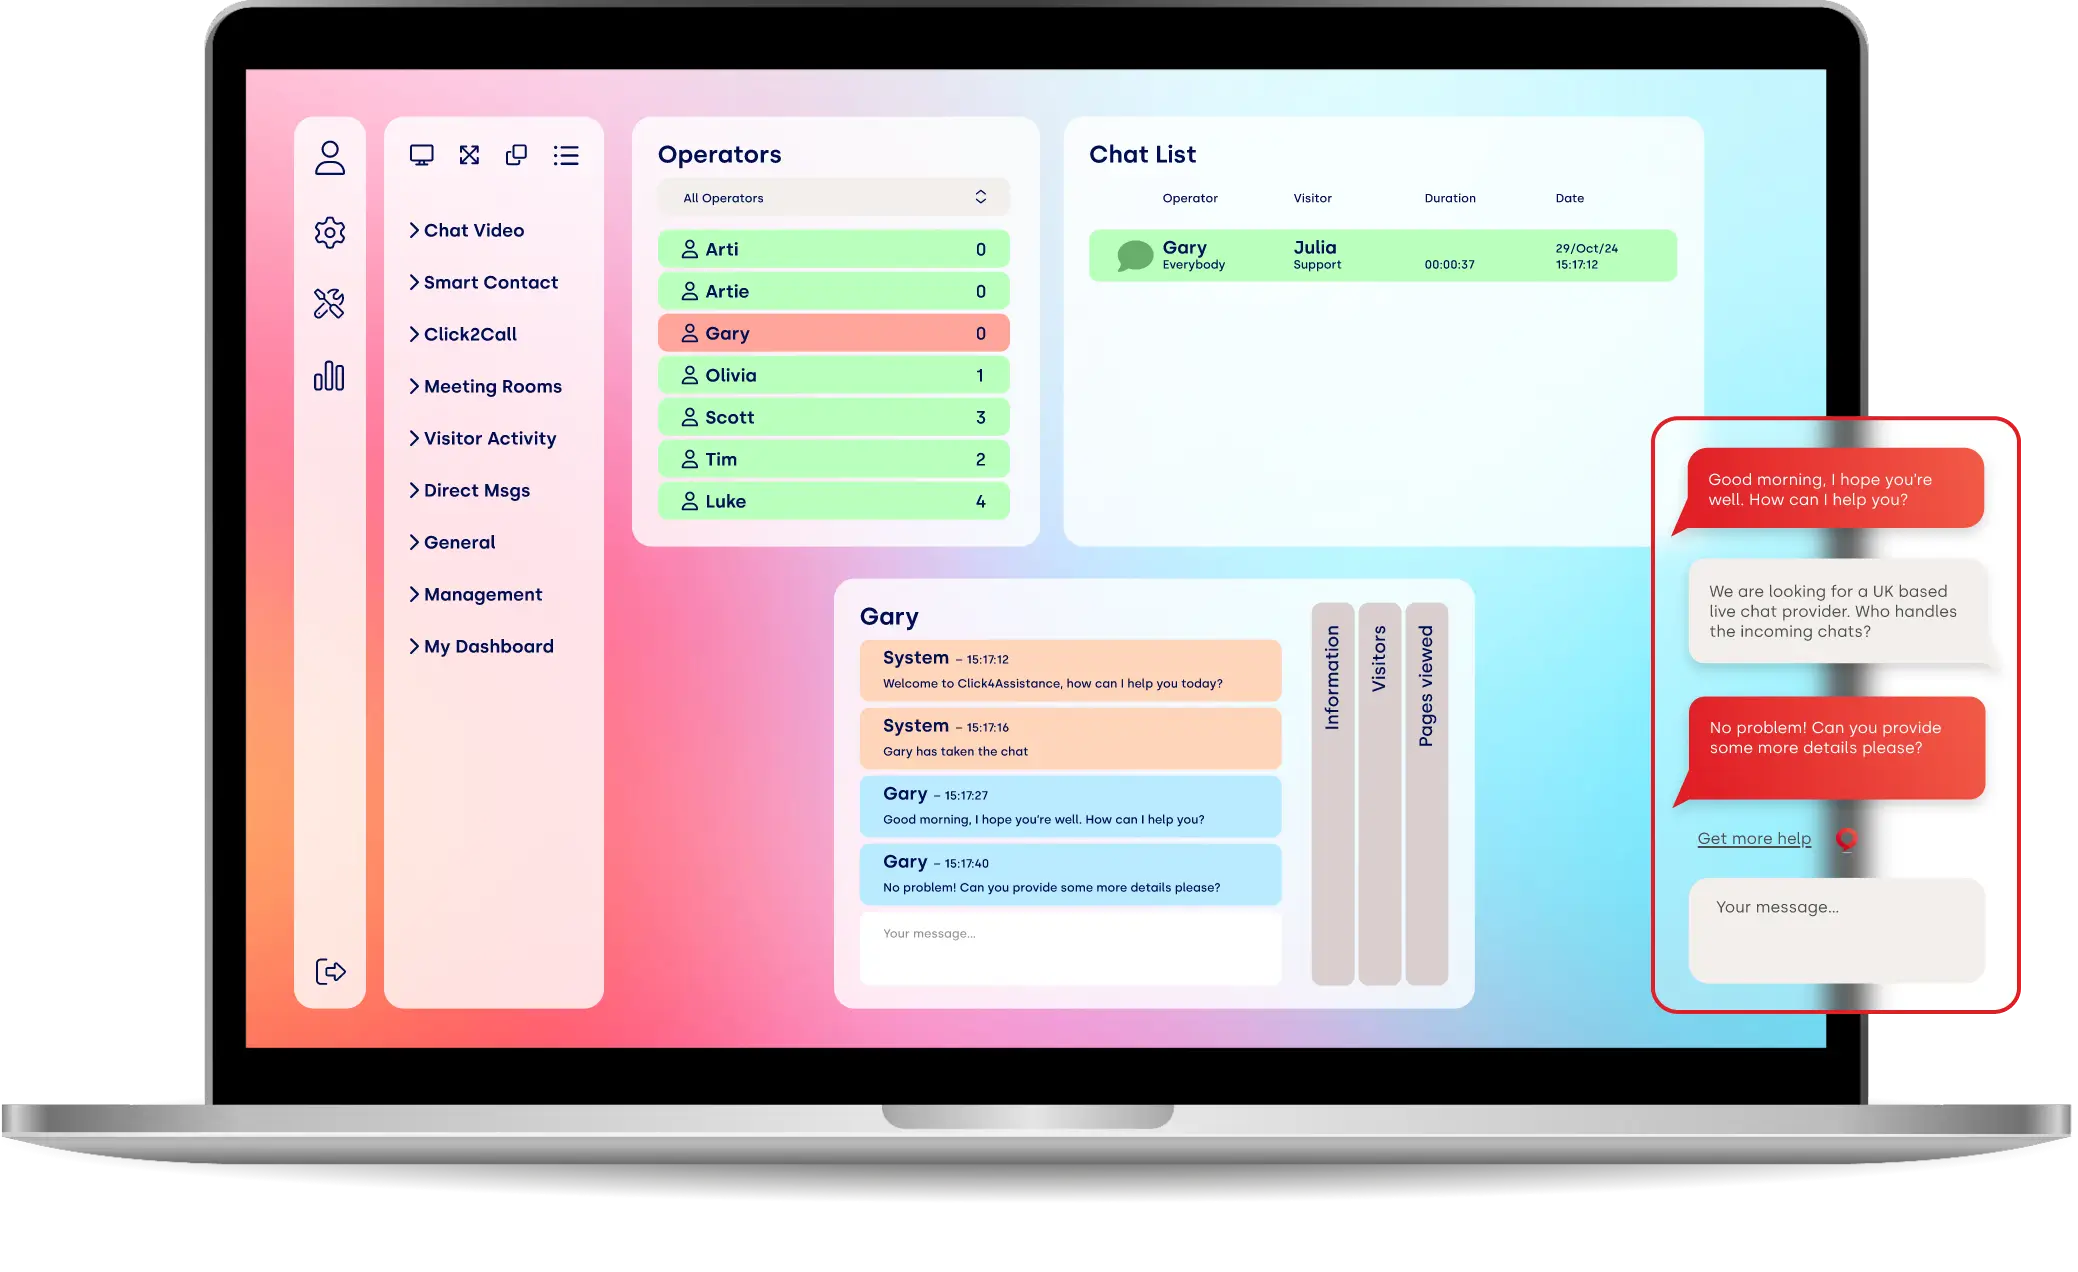
- Navigate to Setting >> Email Templates on the left-hand side of the Experiences home screen
- Then select the type of email template you wish to create using the drop-down menu. (Click4Assistance provides a large range of templates for system-generated emails, such as password reset requests, chat survey completed emails, and chat transcripts). Settings and information entry requirements are different for each template, depending on what you need to communicate to the visitor.
- In the Editing: Custom Chat Transcript window, click the Settings tab. Complete the required fields, such as the template name, the type of template that you want to use, the email subject line for the visitor, the sending address and so on.
- Click Save
- Click the Email Content tab. Populate the email content HTML from a pre-existing template and then check the HMTL format checkbox.
- Click Save
- Click the Preview tab. View the email template to see if you like it.
By default, the “from address” is no-reply@click4assistance.co.uk. However, if you would like to send auto-generated template emails from your own address, you’ll need to send them via a relay server. To do this, please contact support@click4assistance.co.uk.
The type of custom email you generate will determine what you need to do next.
If you created a custom email using the chat transcript template, you’ll need to assign it to an Experience.

To do this:
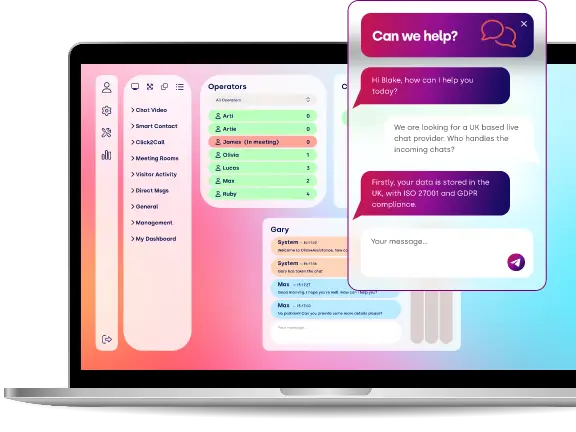
- Navigate to Tools >> Chat
- Click on the Settings button in the chat flow chart
- Scroll down in the Chat Settings window to view the email request option
- Select your custom email template from the drop-down list
- Click Save
To personalise auto-generated emails, Click4Assistant’s Chat settings let you enter welcoming text. You can choose the following placeholders to dynamically insert text on your behalf:
- @COMPANYNAME
- @VISITORNAME
- @OPERATORNAME
- @QUEUEPOSITION
The text you enter will need to reflect whether you are using queuing and auto or manual allocation. You can integrate chat transcript emails if you add a chatbot to your website.
Conclusion
Custom emails are a simple way to communicate valuable information to website users. Click4Assistance offers a range of bespoke templates within the Click4Assistance solution to make this process easier. Simply edit email template fields and then integrate them with other aspects of the Click4Assistance experience if necessary.